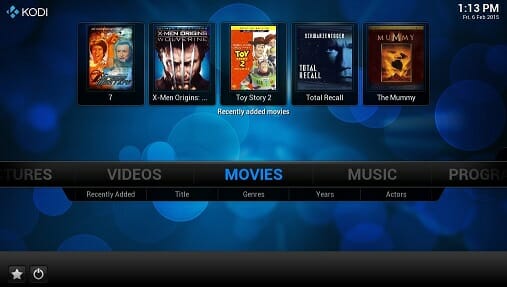
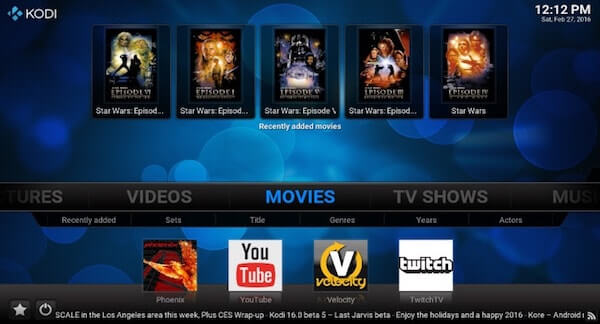
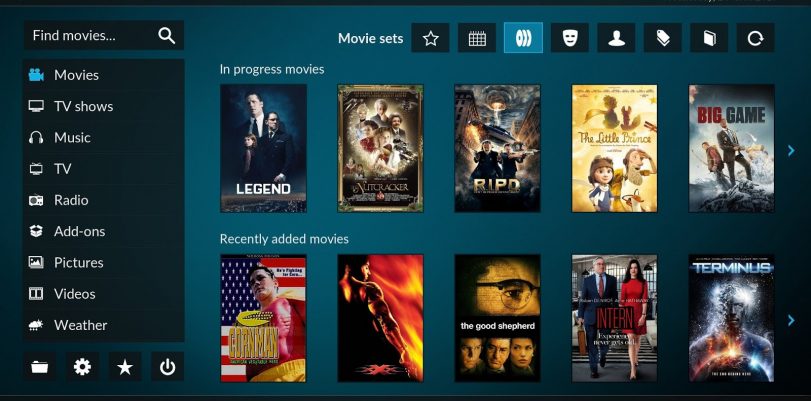
Kodi is arguably the most popular media streaming device that is available in the market today. It is a device that does not come with preloaded content but allows you to stream content from any channel that you want. Kodi Add-ons help you access the channels and streaming services of your choice where you can watch your favourite TV shows and movies in good picture quality.
But in recent times, a lot of fuss has been made regarding the legality of using Kodi. While using Kodi is absolutely legal, using it to stream licensed content is not. To help you overcome this issue and improve your Kodi experience, you should use a VPN on Kodi.
What is a VPN?
A VPN, or Virtual Private Network, is a software that changes the way your device or system interacts with the internet. A VPN basically inserts an intermediate server between your system and the internet, and all requests will pass through this server.
What this does is that it will mask your true identity and location, because the IP address visible to the target website is that of the VPN server that sits in between. But the real benefit of using a VPN lies in the fact that it keeps your online activity confidential. This is because VPNs encrypt your connection, preventing anyone from reading the data packets transferred to and from your system.
This essentially hides your activity from anyone who tries to spy on you. VPNs hide your identity and location by masking your IP address, and they hide your activity by encrypting your connection.
Want to get to the good part? Best VPN for Kodi? TorGuard.
See why, in our TorGuard Review.
Why should you use a VPN with Kodi?

Kodi is a media streaming device. A VPN is an anonymizing software. If you think there’s no relation between the two, there is not one but many of them. When you use Kodi to stream content, your ISP and anyone else wanting to spy on you can see what you are streaming and from where.
This means that if you are streaming copyrighted content, and the one watching over you is a law enforcement official, then you will be handed a notice on grounds of copyright infringement and digital piracy. The laws regarding these two issues are getting stricter as officials and copyright owners are going hell for leather to put an end to digital piracy.
We don’t like to steal their money, but we also don’t like to pay for everything we watch on the internet, especially since there are ways to get it for free.

When you use a VPN on Kodi, nobody can see what you are doing with your Kodi. You can watch any movie or TV show that you can access through the add-ons you have installed on your Kodi, and nobody will stop you. This is because nobody except you will know how you are using your Kodi. So you can oust anyone trying to spy on your Kodi activity by using a VPN.
A second, more important advantage, of using a Kodi VPN, is that it helps solve the problem of geo-restriction. Those who have used Kodi for a while will know how common it is to encounter a message like ‘this service is not available in your country’.

This is usually the case with streaming services like Netflix, BBC iPlayer, Hulu, ESPN, HBO, etc. These services are available in select parts of the world, and the content varies drastically even in the places they are available. But using a VPN will help you tackle this problem. Since geo-restriction works by finding your location using your IP address, you can fool the service into thinking that you are trying to access it from the region it is available in. All you will need is a VPN that has a server in that particular location. So, for example, if you want to use BBC iPlayer, you only have to connect to a UK server through your VPN, and you will be granted access.
How to Use VPN with Kodi
With the benefits of using a Kodi VPN covered, it’s time you learned how to use a VPN with Kodi. Kodi can be used with different devices like Smart TVs, Raspberry Pi, PCs, etc. All the major operating systems are covered by Kodi. But when it comes to using a VPN directly on Kodi, your options are limited. The easiest way to go about using a Kodi VPN is to either set it up on the device you use your Kodi on or set it up on your entire internet connection through your router.
To use a Kodi VPN by setting up a VPN on the device you use Kodi on, follow these steps:
- Go to the website of the VPN vendor whose service you want to subscribe to
- Browse its packages and subscribe to one of them Sign-up for the service by choosing your login credentials and filling a form
- Sign-up for the service by choosing your login credentials and filling a form
- Download the VPN client for your particular device
- Open the VPN client on the device
- Enter your login credentials
- Click on connect
- Your VPN is now up and running. You can choose a server of your choice to unblock the streaming service you wish to use via your Kodi
Since most VPNs today offer dedicated VPN clients and apps for all the major devices and operating systems, finding one for your device is quite simple. Since your device is now configured to use the internet over a VPN, your Kodi activity goes through this encrypted network. All your activity is kept confidential and you can unblock anything that you want, provided your VPN has a server in that location.
Those who wish to setup a VPN directly on their Kodi can do so using an add-on for this purpose. VPN manager for OpenVPN is a good pick. However, it requires you to download and install OpenVPN GUI beforehand. After doing so, you will have to download OpenVPN configuration files from your VPN vendor’s website. After that, follow these instructions:
- Go to GitHub and download Zomboided repository
- Start Kodi
- Follow Add-ons -> Add-on browser -> Install from Zip file
- Go to the location of the Zomboided repository you downloaded and select it
- Wait for the add-on enabled notification
- Follow Install from repository -> Zomboided Add-on repository -> Services -> VPN manager for OpenVPN -> Install
- Wait for the add-on enabled notification
- Click OK on the VPN configuration pop-up
- Follow Add-on Settings -> VPN configuration -> VPN provider
- Enter your login credentials for the VPN
- Go to VPN Connection tab and choose First VPN connection (optionally used to auto-connect during boot)
- Choose a server of your choice and start using the VPN
What to look for in a VPN?

Using a VPN with Kodi has its dividends, but it’s not easy choosing the right VPN service. But to help you out, there are a few things you should consider when opting for a VPN.
- Server count and locations – The more the number of servers under a VPN and the more they are spread across the world, the more connectivity options you have
- Speed and encryption – Streaming requires good connection speed. Encryption overhead reduces speed in VPNs, but good VPNs ensure the reduction is minimal. Also, the strength of encryption should be good for best protection. OpenVPN protocol and AES 256-bit encryption are what you should be looking for
- Logs and Privacy Policy – VPNs hide your identity and activity from everyone but themselves. It’s important to choose a VPN that does not record your activity logs, does not require a lot of personal information during sign-up, and has a policy of never sharing your content with third-parties
There are some VPNs that will tick most of these requirements, but none will tick them all better than TorGuard. It is a service renowned for improving the streaming experience of users with its fast speed servers, good prices, strong protection, and huge server pool to choose from.
